A PET bottle can look closed while leaking through an incomplete annular seal, and an intact foil does not automatically prove that the package is tamper-evident. You will be able to match the wad to the bottle and product, control the induction process, and verify both seal integrity and visible evidence of opening.
Key takeaways
- Match the wad’s heat-seal layer to the PET neck surface.
- Set power, line speed, and coil height as one process.
- Check seal continuity, adhesion, leaks, and peel behaviour.
- Use foil removal, bond damage, or cap distortion as tampering clues.
How an induction wad bonds to a PET bottle neck
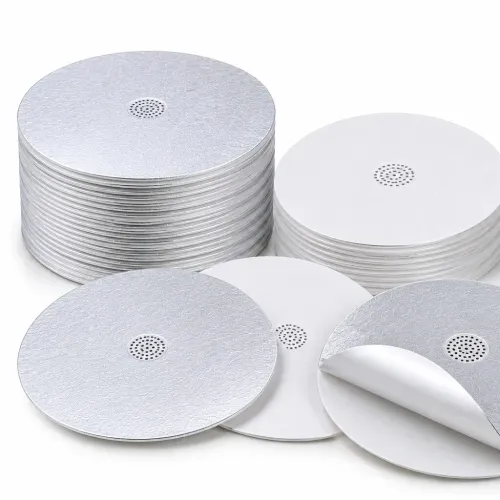
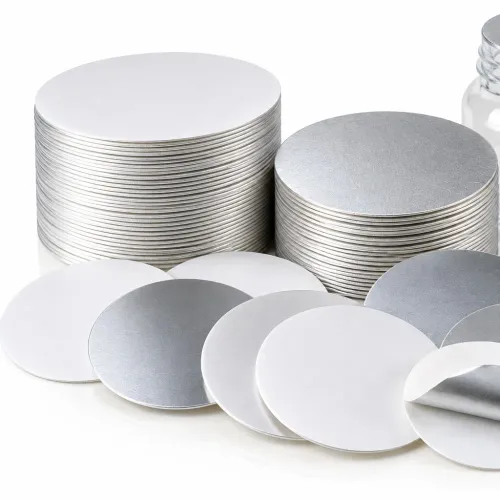
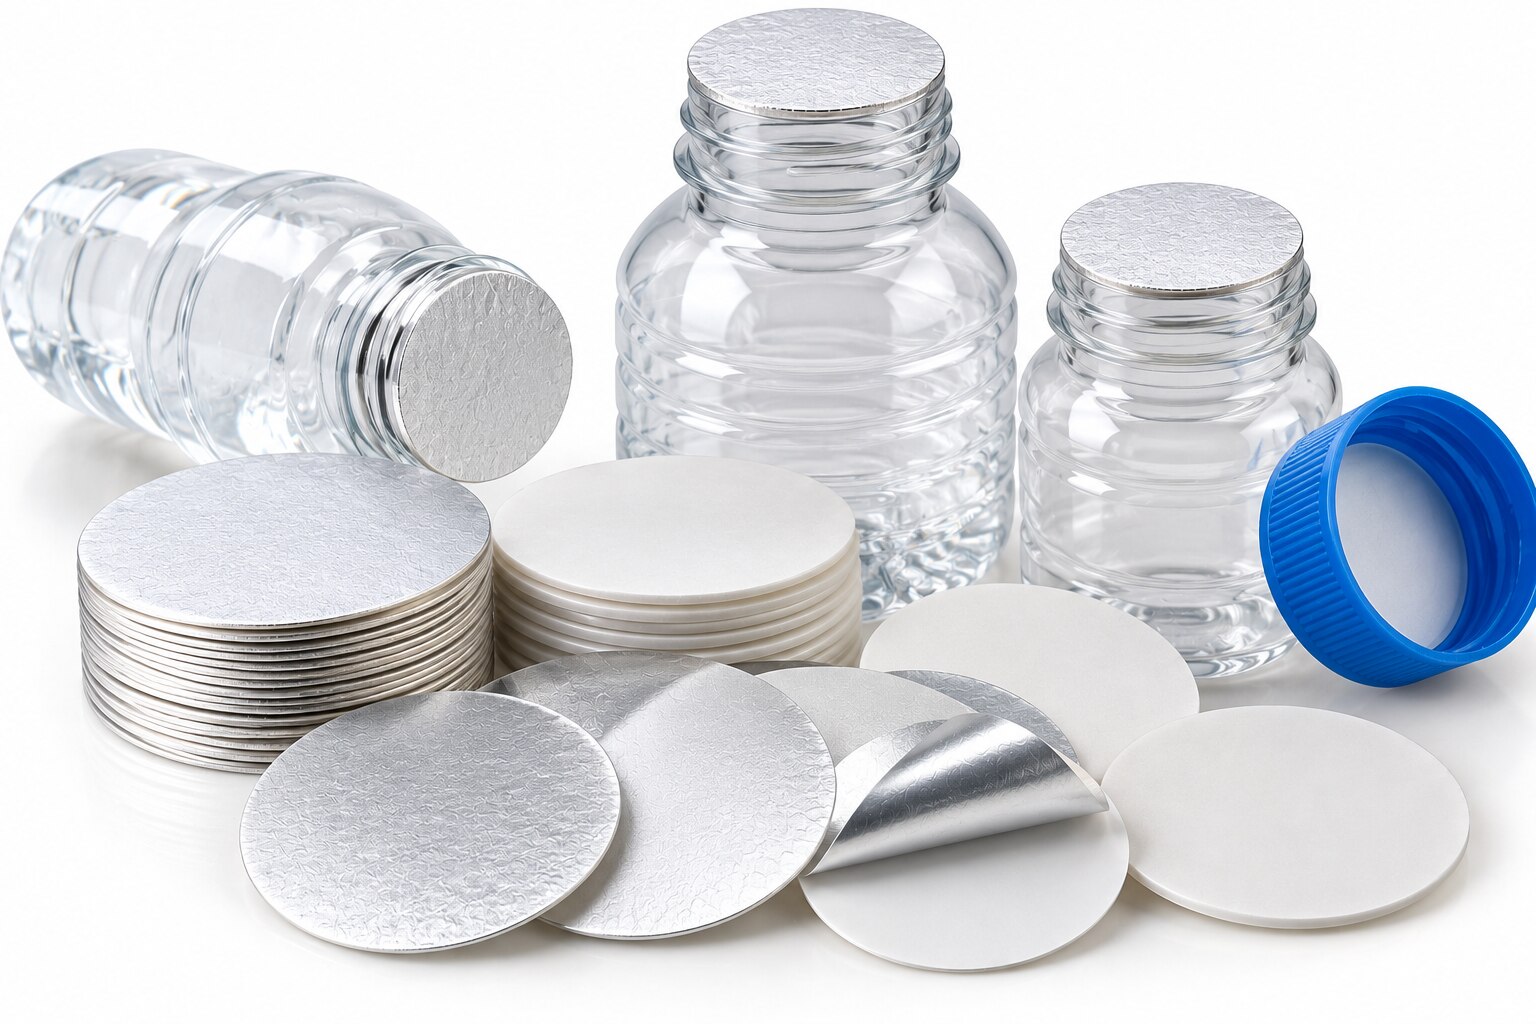
The cap holds the PET bottle sealing wad against the bottle’s neck land with even compression. During the induction sealing process, an electromagnetic field heats the aluminium foil susceptor in the wad. The foil transfers heat to the polymer heat-seal layer1, which softens, wets the PET surface, and bonds to it as the assembly cools.
- The wad must cover the complete sealing land. A tilted cap, low application torque, uneven neck height, or a liner that shifts off-centre can leave an unbonded section around the circumference.
- Keep heat within the process window. Excessive energy can soften or deform the PET finish, change neck ovality, or damage the sealant; insufficient energy leaves weak adhesion, channels, or partial bonding.
- Choose the sealant for the specific PET neck finish, product, and closure system. A coating that bonds to one PET finish can peel from another or react with the product.
The resulting packaging outcome has a specific meaning:
| Outcome | What it means |
|---|---|
| Leak-resistant seal | The bonded interface blocks liquid leakage during handling and normal pressure changes. |
| Airtight seal | The interface restricts gas exchange as well as liquid flow; confirm this with a suitable leak or pressure test. |
| Tamper-evident seal | Opening requires puncturing, peeling, or visibly removing the membrane, leaving evidence when the cap, neck, and liner work as one system. |
| Pressure-relief or vented closure | The design intentionally releases excess pressure; it is not an airtight seal and must not be described as one. |
A foil membrane can improve the closure-area barrier, but it cannot compensate for a permeable PET wall, cap path, or damaged neck finish.
How to match the wad to the bottle, cap, and product
A wad is a fit-and-chemistry decision, not a PET-only decision. Obtain the bottle drawing for the PET neck finish, including neck diameter, land width, finish height, thread profile, ovality limits, and allowable variation. Then confirm that the liner diameter covers the entire sealing land without touching the cap threads or leaving excessive cap clearance.
- Confirm the cap’s resin, inner profile, thread engagement, liner-retention feature, and supplier tolerance. Check that the wad stays centred during capping rather than shifting against the cap wall.
- Record the approved cap torque1 range and test low, nominal, and high settings. Under-torquing leaves gaps; over-torquing can distort the liner, damage threads, or deform the PET finish.
- Give the wad supplier the product formulation, viscosity, solvents, oils, surfactants, acidity or alkalinity, fill temperature, headspace pressure, and storage temperature. Request compatibility evidence for the sealant coating, not merely a statement that it suits PET.
- Qualify the combination at actual bottle dimensions, cap suppliers, liner lots, fill temperatures, line speeds, and torque settings. Include hot-filled, cooled, transported, and thermally cycled samples.
| Specification | Confirm | Failure if mismatched |
|---|---|---|
| Bottle | PET neck finish drawing, land width, height, ovality | Wrinkles, channels, or local neck deformation |
| Closure | Material, cap clearance, torque range, centring | Uneven compression and incomplete circumference |
| Wad | Liner diameter, sealant, thickness, vent or pull feature | Poor adhesion, product attack, or blocked venting |
| Product | Formula, temperature, pressure, storage conditions | Peeling, leaks, swelling, or pressure failure |
Give these measurements and test conditions to Surya Products Limited when requesting a wad recommendation; a nominal neck size alone is not enough.
Related products
 | Vented Wads Designed as per health safety standard, these vented wads are used as reliable sealing options for HDPE and PET bottles containing chemicals. View product → |
 | Easypeel Wads Aluminum foil based pull tab wad is reliable packaging sealing solution for FMCG, pharmaceutical and edible products. View product → |
Which line settings determine seal quality
Consistent seals come from a balanced thermal cycle, not maximum induction power: the wad must receive enough heat to melt its sealant across the entire PET land, then cool under compression without overheating the neck or liner.
| Setting | Too low or short | Too high or long |
|---|---|---|
| Induction power | Unbonded areas and leak channels | Distorted PET, burned nonwoven, brittle or overfused seal |
| Dwell time / conveyor speed | Inadequate heat transfer | Excess heat and liner damage |
| Coil-to-cap distance1 | Weak or uneven heating | Hot spots and arcing risk |
| Compression | Incomplete circumferential contact | Cap, thread, or neck deformation |
| Cooling | Soft bond and shifting | Longer cycle and reduced throughput |
Set dwell time through conveyor speed: a faster conveyor reduces energy delivered under the coil, while a slower one increases it. Adjust induction power and speed together, then verify the actual coil-to-cap distance1 with the cap seated; a tilted closure changes the gap around the circumference.
Compression comes from correct cap application before induction. Insufficient or uneven torque leaves parts of the wad off the bottle land, and induction cannot repair that gap. Hold the cap and bottle stable during cooling so the molten sealant solidifies evenly.
Qualify the recipe across the production range of bottle dimensions, liner lots, fill temperatures, closure torque, and line speeds. Track generator output, cap presence, torque, coil gap, and a validated neck-temperature indicator, then confirm with periodic destructive seal inspection and leak testing.
Generator output alone will not reveal contamination, a crooked cap, or a missing sealant layer.
How to inspect and test a production seal
Release a production lot only after visual seal inspection, destructive checks, and leak testing agree. A bright, unbroken foil does not prove a hermetic seal: wrinkles, pinholes, contaminated PET land, poor wetting, oval necks, and microchannels can remain invisible.
1. Inspect the complete annular seal under consistent lighting. Reject bottles showing exposed PET, lifted edges, gaps, scorching, melted or distorted foil, wrinkles crossing the seal, or product trapped on the neck land.
Check cap presence, orientation, seating, and removal torque; a crooked or loose cap can leave an unsealed arc even when the induction generator reports normal output.
2. Open sample bottles and examine the bond around the full circumference. A clean, continuous transfer pattern indicates contact, while bare PET, patchy adhesion, powder, crystals, oil, or viscous residue points to contamination or incomplete wetting. Darkened, brittle, shrunken, or curled sealant indicates overheating; reduce exposure or investigate coil gap, speed, and compression.
3. Perform peel testing on samples using ASTM F88/F88M. Record specimen width, peel angle, test speed, temperature, and whether the wad is designed to peel or remain permanent. Compare results with your validated range, not a universal “high is good” target: excessive strength can tear the PET land or make opening unsafe.
4. Screen finished bottles for gross leaks with ASTM F2096, sometimes entered as ASTM F20961, and use a validated vacuum, pressure-decay, or dye test when microchannels are the concern. Age filled samples with oils, acids, alcohols, surfactants, or high-moisture products, then repeat leak and peel checks before shipment.
How a sealed PET bottle shows tampering
Visible tampering requires the foil membrane to block access until someone punctures, peels, or removes it. A cap that unscrews while leaving the membrane intact does not show that the package was opened.
The foil membrane must bond continuously around the PET neck land, with no channel that lets someone reach the contents without damaging the seal. After opening, the membrane should show a clear tear, puncture, lifted edge, or other irreversible change.
A two-piece liner may leave the foil seal on the bottle while its backing separates; specify this behavior before approving the design.
The cap and closure system must support that evidence:
- The cap compresses the wad evenly before induction, so the bond forms around the full circumference.
- The threads, neck finish, and cap remain aligned; a tilted cap or damaged thread can create an unsealed section.
- A band, breakaway ring, or other secondary feature breaks or separates when the cap is first opened, if the design includes one.
- The opened package cannot be returned to its original appearance without visible damage.
Tamper-evident packaging and leak resistance are separate acceptance tests. Vacuum-decay testing under ASTM F23381 can detect pressure loss from a leak, but it cannot prove that a consumer will notice opening. Conversely, a visibly damaged membrane does not prove the remaining closure is airtight.
Evaluate the foil membrane, cap, and every closure feature as one system.
Frequently asked questions
How does an induction wad bond to a PET bottle neck?
The cap compresses the wad against the neck land. Induction heating warms the aluminium susceptor, and the heat-seal layer softens, wets the PET, and bonds as it cools.
How do you match a sealing wad to a PET bottle?
Confirm the wad diameter and heat-seal layer suit the bottle neck finish, cap liner space, product, and required opening or peel behaviour.
Which line settings affect PET bottle seal quality?
Induction power, conveyor speed, coil height, bottle alignment, cap torque, and wad compression determine how consistently the seal heats and bonds.
How can you inspect a sealed PET bottle for tampering?
Check for a continuous bond, leaks, wrinkles, lifted edges, foil removal, bond damage, cap distortion, and evidence that the wad has been disturbed.
Related products
 | Holographic Induction Sealing Wads This is Two peice type induction sealing wads with HOLOGRAM or Holographic printing. View product → |
 | INDUCTION SEALING WADS Paperboard, polyethylene and wax made two piece induction wads are reliable options for effective sealing of bottles and containers. View product → |
 | 5/7 Layer Golden Wads We are offering premium quality 7 Layer Golden Wads that can be used in wide range of industries such as food, beverage, cosmetics, pharmaceutical... View product → |
 | Single Piece Induction Wads Keeping track with the latest market developments, we are engaged in offering an extensive range of Induction Sealing Wads. View product → |